
TrueInsight
Siemens/Altair Channel Partner
Menu


How to Export Animations and Pictures in SimCenter SimSolid with the Bookmark Browser
In this post we show how to export animations and still images using Simcenter SimSolid (formerly Altair SimSolid)
Simcenter SimSolid is a powerful Multiphysics tool that enables users to set up and run various types of studies in a fraction of time. I have written before about the power and usefulness of SimSolid, specifically how meshless technology enables users to get results quickly. With the ability to run various studies quickly, often the next question that comes up is postprocessing and reporting and how to do it in SimSolid. There are several postprocessing tools in SimSolid, but in particular SimSolid has a tool called the Bookmark Browser which allows users to quickly save out animations and pictures. In today’s blog I am going to walk you through how to utilize the Bookmark Browser!
General Post-Processing in SimSolid
Before I step through the process of exporting images and animations, let’s look at overall post-processing in SimSolid. In this case I am going to use the nonlinear static claw tutorial model, that is part of every SimSolid installation. The model is set up to simulate the effect of grabbing an object on the interior claws. After running a study, results can be found on the explorer bar below the constraints and fixtures (Figure 1).
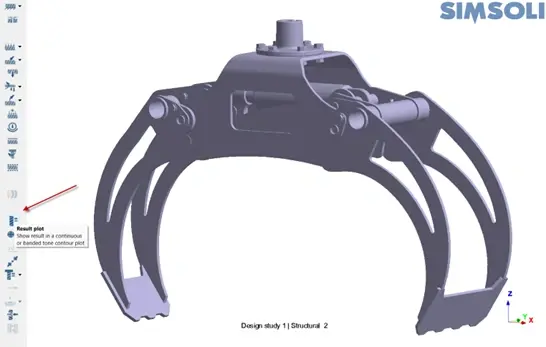
Figure 1: SimSolid Results Location for Claw Model shown via red arrow
If we click on the result plot box, it will give us an option to either visualize stress, displacement, strain, energy, or safety factor plots. For this example, let’s look at Von Mises Stress results. When I click on Von Mises Stress, automatically the graphics window will update and show the stress result and an interactive legend on the right side of the screen (Figure 2). SimSolid automatically recognizes what type of study you are in, so in our case this model was run for nonlinear static, so it gives a selection box for us to select loading in the elastic, or elastic-plastic regime. Note if I was running say a linear static study, it would automatically show the stress result.
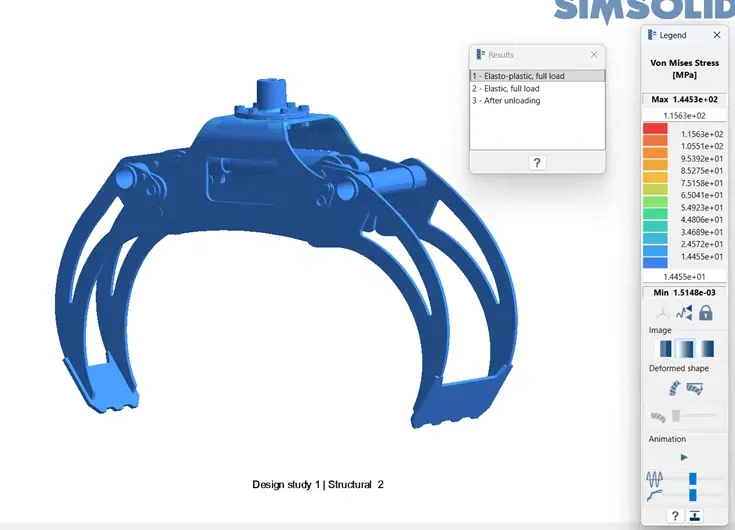
Figure 2: SimSolid Von Mises Stress Result for Claw
Let’s review a few basic features on the postprocessing legend in Figure 3. The legend is first organized with a scale that shows the max and minimum values. These values can be edited by typing in the white boxes and entering in maximum and minimum values. Directly below the minimum box selection there is a setting for a local coordinate system for results, a show max and minimum arrow value, and a lock scale box. The next selections are the deformed shape and animation selections, with these values users can adjust the deformed scale to make things visually easier to understand as well as adjusting the frame rate for an animation. For a more detailed writeup of this legend check out the help.

Figure 3: SimSolid Legend Settings for Result Plots
After our brief review, let’s generate a result plot, in this case I am going to keep the scale of my legend set at the default, as well as the default deformed shape settings. I also want to animate the results to see if the stress and displacement deformation represent what I expect (Figure 4). After looking at Figure 4, this represents exactly what I expect and is the result that I need.
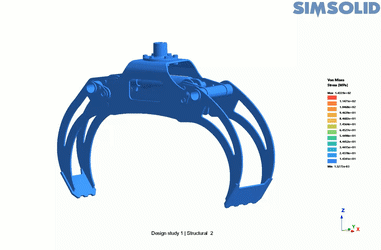
Figure 4: Animation of Nonlinear Claw
Exporting Animations and Images with the Bookmark Browser
So, with our model now run and the results generated, we now need to be able to export the animations and images we have generated to users who may not have access to SimSolid. That’s where the automation and efficiency of the Bookmark Browser saves us time. The first thing I want to do is export the animation I generated in Figure 4. To do this, I first start the animation on the legend plot, which is just hitting the play button (Figure 3). Once the animation starts, the user just needs to go to the bookmark browser and then click on the camera icon (Figure 5).
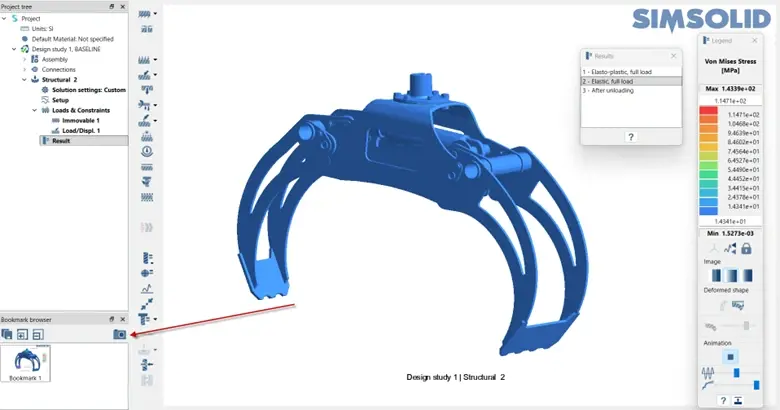
Figure 5: Bookmark Browser Location Shown via Red Arrow
After clicking on the camera, the browser will automatically save whatever is active in the graphics window, in this case it will be the animation of our claw. Note it will save at the last active view, whether it’s a custom view or preset view. The browser will retain the last active view in the graphics window when you left mouse button click on the camera icon. This feature is super handy if you have custom views and want to save result plots with custom views. If we look at our window, we will see an animation that has been generated and saved to the Bookmark Browser. To export this animation, we click the right mouse button on this image and hit save to selection and an MP4 file will be automatically exported (Figure 6). This same process can be done for static images as well, it’s not limited to animations. The process is as simple as that!
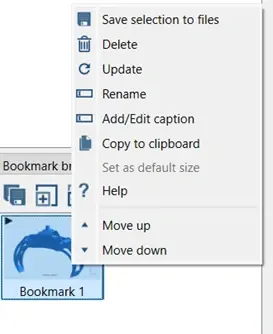
Figure 6: Bookmark Browser Export Result Option
So just like that we have gone through how you can use the Bookmark Browser in SimSolid! Hopefully, you can utilize this great tip to make your results post processing even more efficient in SimSolid. If you have any further questions on Simcenter SimSolid or any other Siemens solution, please reach out to us here at TrueInsight!