TrueInsight
Siemens/Altair Channel Partner
Menu


Optimizing Gravity Casting with Altair Inspire Cast: A Guide
Altair Inspire Cast is a powerful metal casting simulation tool to help users avoid costly defects. Check out this guide on Gravity Casting.
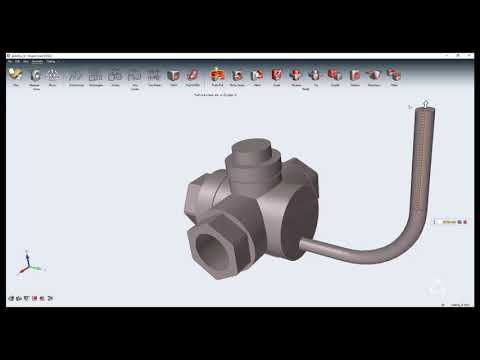
Gravity casting is one of the most popular methods for producing complex shaped metal parts and simulating the process using Altair Inspire Cast can help optimize the design and reduce the need for expensive physical prototypes. Inspire Cast includes the following casting processes: die casting, investment casting, high- and low-pressure casting and tilt pouring. In this blog post, we will walk through the steps to set up a gravity casting simulation in Altair Inspire Cast.
Import the CAD Model
Import the 3D CAD model of the part you wish to cast. This can be done by going to "File" > "Import". Supported file types include Native CAD formats like SOLIDWORKS, Creo, etc.; STL, IGES, and STEP. For this example, I am importing a STEP file of the TrueInsight Gear logo.
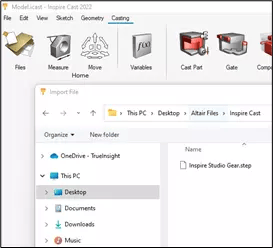
Fig 1: Importing STEP file
Define the Cast Part, Material, Temperature and Gravity Direction
Click “Cast Part” and highlight the parts to be cast. When the parts are highlighted, a menu will appear to allow you choose your material and casting temperature. Once that has been selected, you can choose the gravity direction by clicking the “G” symbol on the Cast Part menu and identifying the direction.
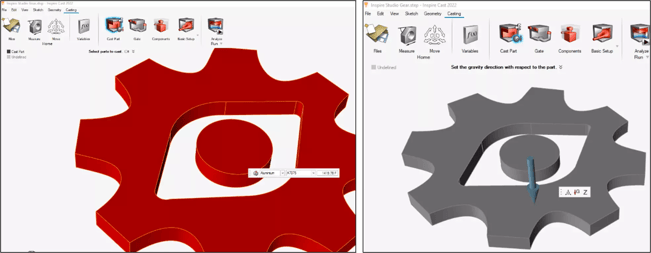
Fig 2: Choosing Cast Part (Left) and Gravity Direction (Right)
Designate Gate/Runner Location
You can easily create geometry as a runner system, then choose the Designate Filling System from the Cast Part Icon and select your runner. In this scenario, I created a really simple runner, just to show you a simulation that includes a runner. Once that is complete, you can add a gate to your system. Users have the option to choose the gate size and shape and select a start and end time for the flow.
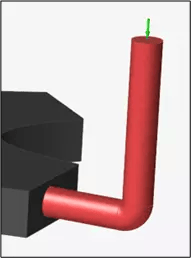
Fig 3: Runner System with Gate
Creating Components
From here you can start developing your casting components. By clicking the Components icon, you will see a menu of options for your casting system.
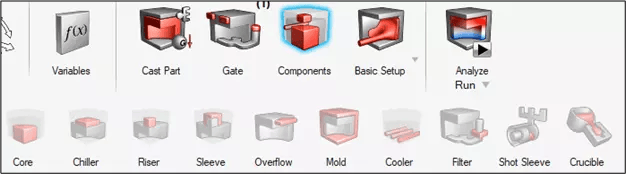
Fig 4: Components Toolbar
For this example, I am going simple and including a Core, which has the option to select your core material. If your material isn’t available, you can add a new one with the Material Database. Then select the core operating temperature.
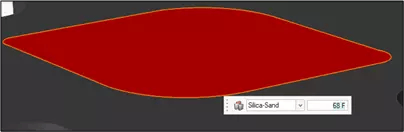
Fig 5: Identified Core
Click on the Mold Icon to add the mold to your simulation. Again, like with most other steps, this is completely customizable for material and temperature, as well as mold roughness and mold coating.
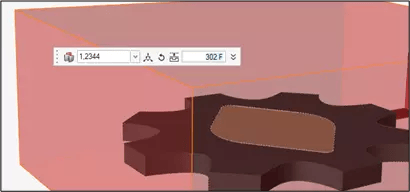
Fig 6: Mold Creation
Now that our Core and Mold are complete, we can set up our Gravity Process Parameters by clicking the Basic Setup Icon, which will give you a pop-up form to include the specific parameters for your process.
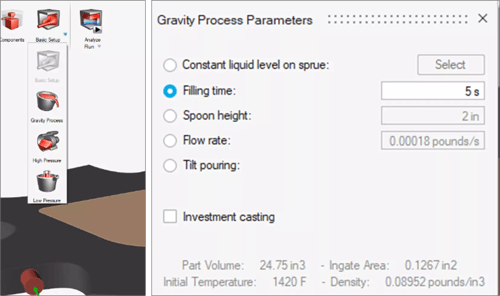
Fig 7: Basic Setup Menu (Left) Gravity Casting Process Parameter Menu (Right)
The last step in the process is to run the analysis. Find the Analyze icon on the ribbon menu and input your specifications. You can see you have the option to change the mesh size manually or use the slider scale to have that automated for you. Additionally, if you want further mesh options, you can also adjust mesh density within Altair SimLab. If you want to know the Thermo-Mechanical results you can include the Compute Deformation checkbox, but that will increase the processing time.

Fig 8: Run Analysis Options
Analyze the Results
Users can now see simulation results for both the filling process and the solidification process. For the Filling results, users can understand things like Temperature, Mold Erosion, Cold Shuts, Last Air and Velocity.
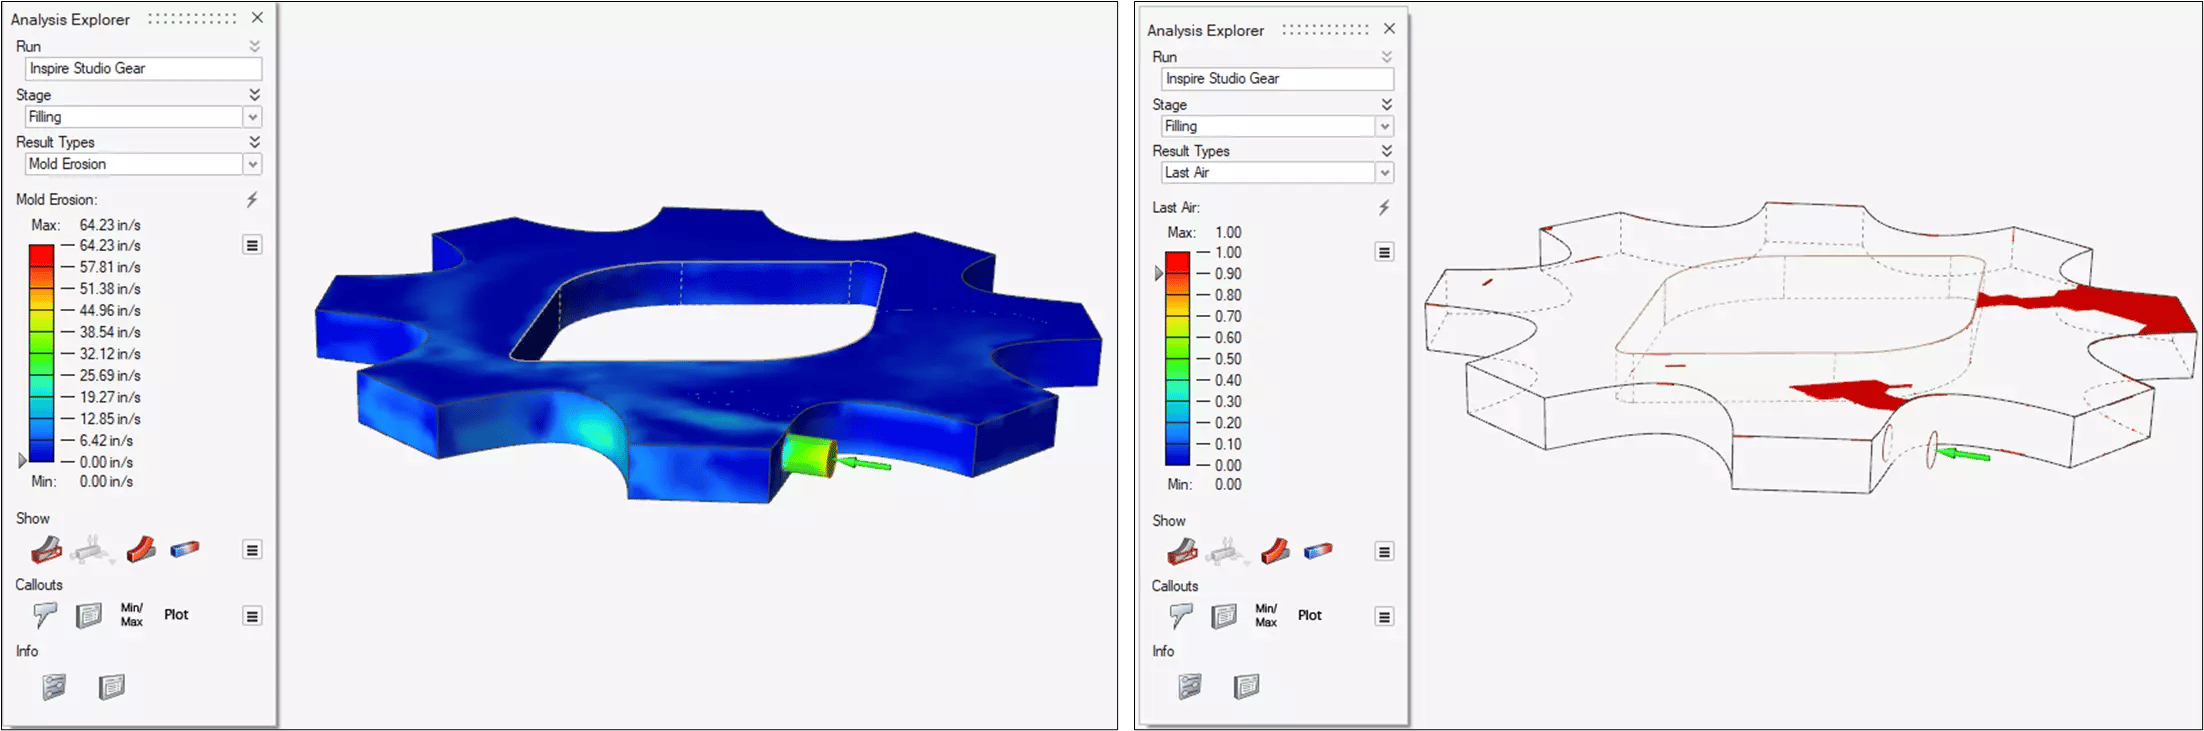
Fig 9: Filling Mold Erosion Results (Left) Filling Last Air Results (Right)
For the Solidification Results, user can see things like Porosity, Shrinkage and Niyama. You can also create animations to visualize the casting process.
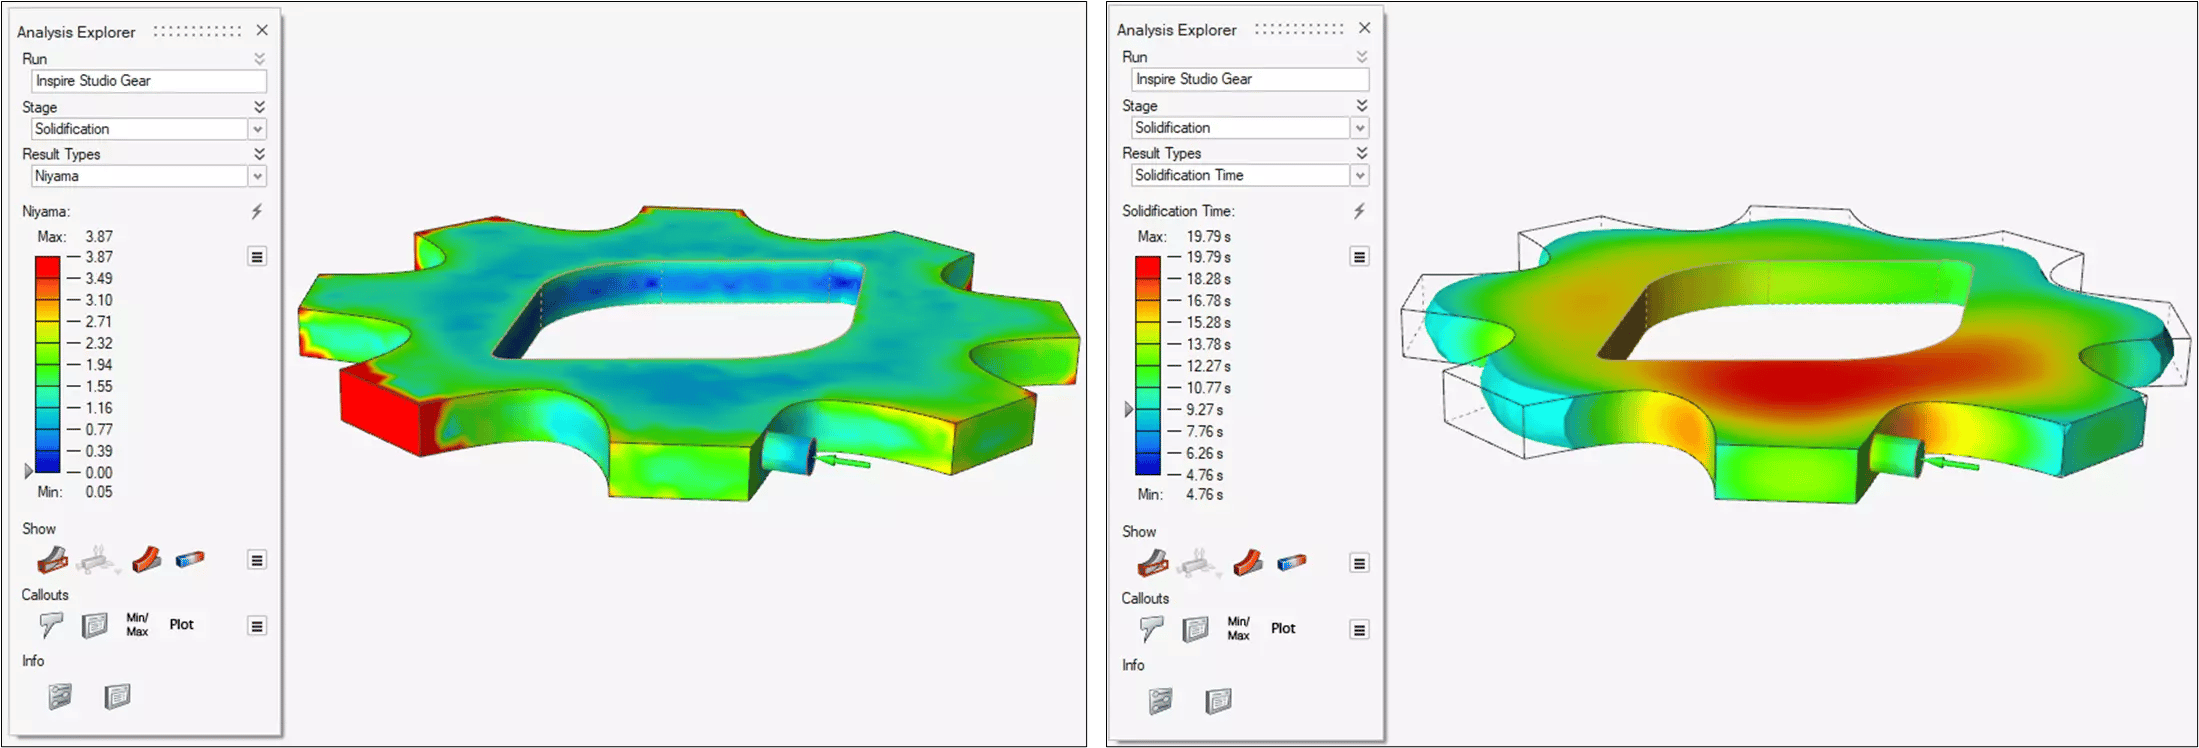
Fig 10: Solidification Niyama Results (Left) Solidification Time Results (Right)
You can see Inspire Cast is very intuitive to use and quick to results. This information can make a huge difference in time and cost for manufacture of metal casted parts. The video below walks through the Inspire Cast workflow as well.