
TrueInsight
Siemens/Altair Channel Partner
Menu


How to Color Code Parts or Assemblies in SimSolid 2026
In release 2026, color coding for parts is now included in Altair SimSolid. Check out how to use it!
Altair SimSolid is a powerful structural tool that enables users to set up various types of studies in a fraction of time due to its meshless technology. One of the great features about SimSolid is that through running with its meshless technology, you can set up and run assemblies with many parts in a fraction of time compared to traditional finite element modeling simulation tools. One of the things that an analyst often requires is the ability to understand different parts, and in many cases that is done through color coding parts in simulation. One of the great new features in SimSolid 2026 is that I can now individually color code parts or assemblies. In today’s blog I am going to walk you through how you can color parts and assemblies in Altair SimSolid.
How to Color Code Parts in SimSolid
So, let’s first open a model in SimSolid, I am going to be utilizing a larger silo assembly (Figure 1), which has hundreds of parts. The reason being this is a prime example of a large assembly, that I would most likely color code in a structural analysis to help me understand how I am setting up a model.
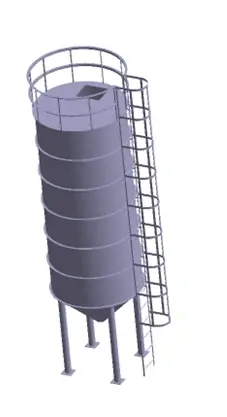
Figure 1: Altair SimSolid Silo
After the model is created, I can clearly tell there are hundreds of parts, but they are all color coded by the default color designation in SimSolid which is grey. One of the things I want to be able to do is to assign a load on the circular parts of the silo, and it would be helpful for me to color-code all of these faces. I can do that by going to the assembly tree then selecting all of the parts so they are highlighted as you can see in Figure 2.
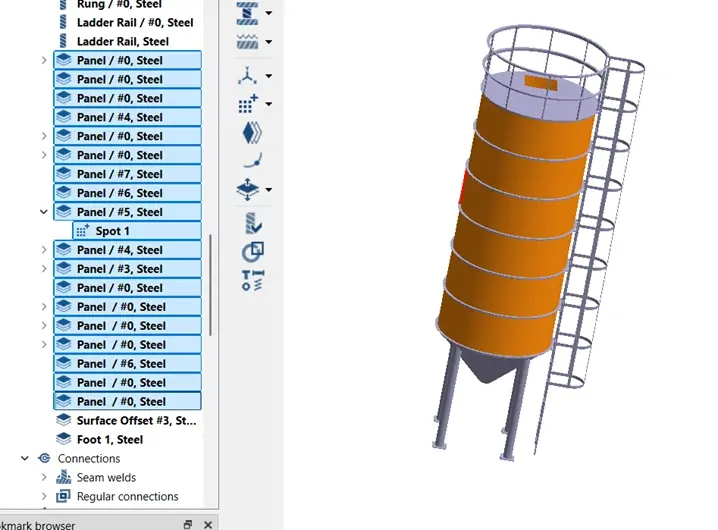
Figure 2: Altair SimSolid Silo Panels Selected
With the parts selected, I can then click the right mouse button and select “Assign color to part(s)”. The cool thing about the new color selection tool is it gives users the ability to customize different colors to various parts and groups. The parts I have selected represent the location where I am applying a force to, so I am going to select a color that is very contrasting to help anyone who opens this file understand this is the load location. I will select a color of red as shown in Figure 3.
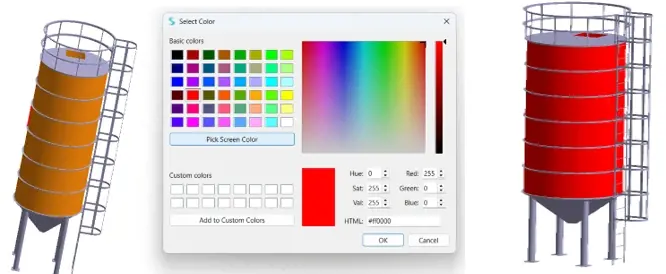
Figure 3: Left, Color Selection tool and Right, Final Red Color Of Silo
With the parts all defined as red, I now have a clear indicator to anyone reviewing this project that this represents where I applied my loads. The ability to color code by part is a great new addition to 2026! We can also randomize color selections as well in Altair SimSolid, so let me go through that process now!
How to Randomly Assign Colors in SimSolid
So, I stepped you through the process of assigning your own designated colors, however, there is also a process to randomly assign colors to a model. The application where this may be useful is you may be creating skins for composite analysis, or you just want to make a unique color scheme for boundary condition application. Very similar to what I did above, I will select all the parts I want, and in this case I will select the same parts and then click the right mouse button but select random colors this time as shown in Figure 4.
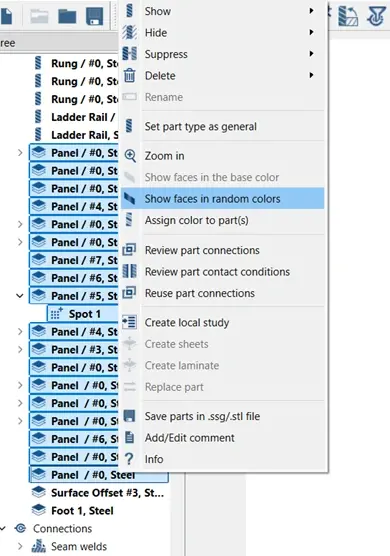
Figure 4: Random Color Selection
Immediately after doing this, it will randomly assign various colors to the parts and generate it on screen (Figure 5). It should be noted that this randomized color feature could also be done for the entire assembly if I wanted, but in this case, I am just doing for the selected parts.
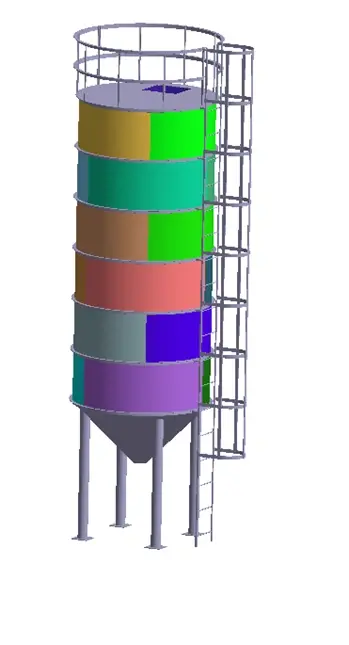
Figure 5: Randomized Colors for Part Selection
So just like that we have gone through how you can use color selection tools in SimSolid 2026! I hope this has illustrated to you the efficiency of color-coding options in Altair SimSolid, try it out on your own! If you have any further questions on Altair SimSolid or any other Altair solution, please reach out to us here at TrueInsight!